Getting Started
NX Redux for TrimUI handhelds is custom firmware. It replaces the stock interface with the NX Redux launcher. New to NX Redux? See About NX Redux first.
Supported devices
| Device | Minimum stock firmware |
|---|---|
| TrimUI Brick | 1.1.1 |
| TrimUI Brick Hammer | 1.1.1 |
| TrimUI Brick Pro | 1.1.1 or 1.1.2 |
| TrimUI Smart Pro S | 1.0.1 or 1.0.2 |
| TrimUI Smart Pro | 1.1.1 (should work in theory, but unconfirmed — no test device) |
SD cards are built per device model
A card set up for one device (e.g. the Brick) must not be moved into another (e.g. the Smart Pro S). To carry saves, save states, settings and (optionally) ROMs across devices, use the built-in Device Sync tool instead of swapping cards.
More detail
Each release is packaged for a specific device. Resolution, OSD assets and other layout differ between models.
Before you install
Update the stock firmware first
Update your device to at least the official TrimUI firmware version listed in Supported devices before installing NX Redux. Older firmware breaks some features.
You will also need:
- A reputable-brand microSD card, freshly formatted as exFAT (preferred).
- The release zip for your exact device model from the releases page.
More detail
- NX Redux relies on system libraries the stock firmware ships, which is why older firmware breaks some features.
- Releases are packaged per device (
brick,brickpro,smartpro,smartpros) and are not interchangeable.
Installing
- Format the SD card as exFAT.
- Extract the release zip and copy everything to the root of the SD card.
That means all the folders, the
trimuifolder, andMinUI.zip. Do not unzipMinUI.zip. - Preload at minimum your
BiosandRomsfolders. Each system has its own subfolder, e.g.Roms/Game Boy Advance (GBA)/andBios/GBA/. - Insert the card and power the device on. The installer runs automatically on first boot.
First boot also upgrades the Bluetooth stack
You will see an extra Extracting / Installing step on the splash screen. This writes to the device's system partition, not the SD card. The only way to undo it is to reflash the stock firmware.
More detail
- A release has two essential parts: an installer/updater archive named
MinUI.zipand a bootstrap folder namedtrimui. They sit alongside the SD card folder skeleton (Bios,Roms,Saves, and so on). - The release zip also includes a
nextui.upgrade_bluez.*.pakzfile next toMinUI.zip. On first boot the installer extracts it and replaces the device's built-in Bluetooth stack (BlueZ, bluez-alsa and the SBC codec) with newer versions. - The Bluetooth upgrade runs only once, and is skipped on devices that already have it. See Bluetooth for details.
Updating
Pick either way:
| Way | How |
|---|---|
| OTA updater (on-device) | Open Settings → About. It checks for a new release when you open the page, then downloads and installs the update right there. Needs Wi-Fi. |
| Manually | Copy the new release's MinUI.zip (without unzipping) to the root of the SD card containing your ROMs, then boot the device. |
Emulator and Tool paks update automatically with every update. There is nothing to copy by hand.
Your own paks
The /Emus and /Tools folders on the SD card are for your own
community paks (e.g. MyEmu.pak). Do not give a pak there the same name as
a shipped one. Same-named paks are treated as NX Redux leftovers and are
removed on every update.
More detail
Emulator and Tool paks are part of NX Redux itself. They live in
/.system/paks/.
First boot
After installation you land on Home, the first of the main menu's four
tabs: Home, Consoles, Collections and Tools. Switch tabs with L1 / R1.
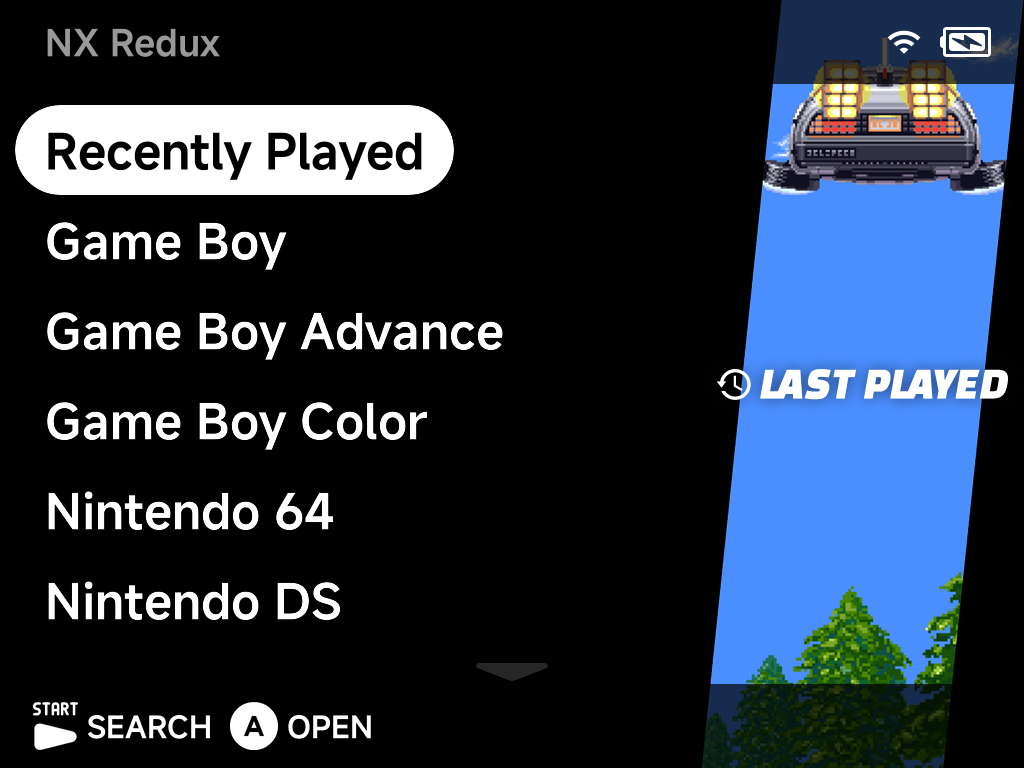
| Button | What it does |
|---|---|
L1 / R1 |
Switch tabs |
A |
Open a system or game |
START |
Search your whole library |
SELECT (tap) |
Open the Game Switcher |
MENU (on a game) |
Open its context menu |
Continue with the User Guide.