Button Layout
The face buttons on every supported device are printed in the Nintendo
arrangement: A on the right, B at the bottom, X on top, Y on the
left. Used to the Xbox arrangement, with confirm at the bottom and back on the
right? NX Redux can swap them for you, everywhere at once.
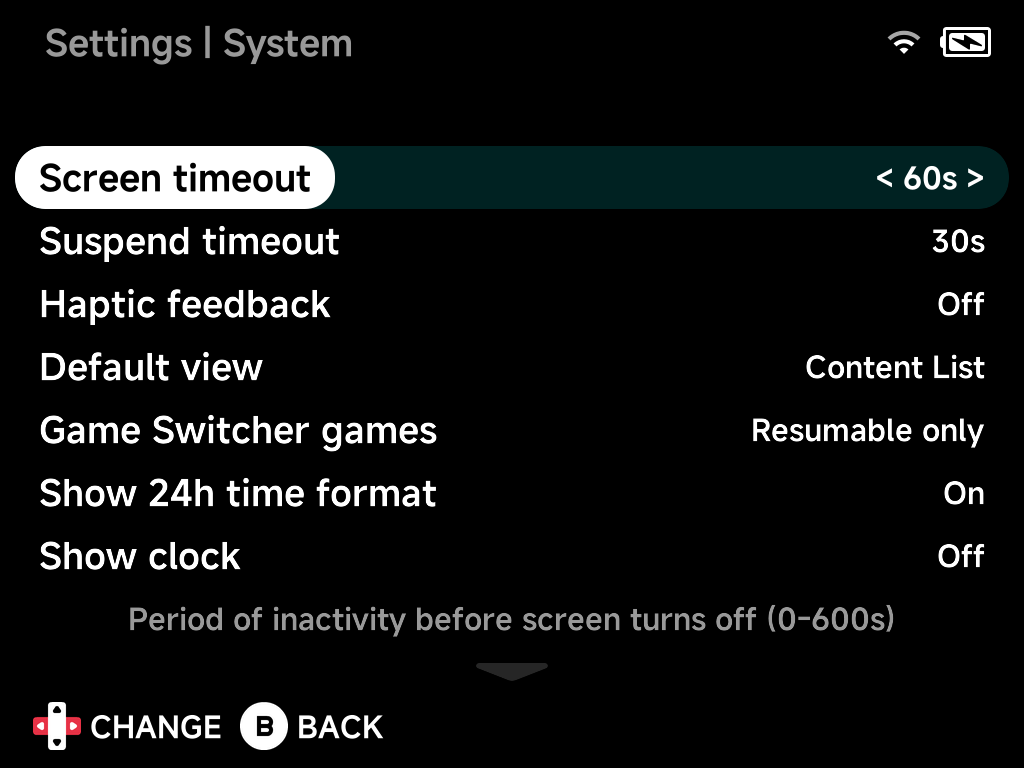
Switching to the Xbox layout
Open Settings → System → Button layout and pick Xbox. From then on:
- the bottom button is
A(confirm) and the right button isB(back); - the top button is
Yand the left button isX.
Every other button keeps its place. Nintendo is the default.
The change applies as soon as you leave Settings: in the menus, the apps, the in-game menu and every emulator. The one exception is the On-Screen Display, which only picks the new layout up after a restart. Restart once and the whole device agrees.
Controls feel wrong after a change?
Quit the game and start it again. Emulators read the layout when they launch.
Dreamcast is the exception
Dreamcast face buttons always map by position (bottom is Dreamcast A),
whichever layout you pick. See
Dreamcast → Controls.
More detail: where the swap applies
The swap is a device-wide setting, not a per-emulator one. It covers:
- the menus and every app
- the in-game menu
- all libretro cores (their button remapping screens included)
- the standalone Nintendo DS and Nintendo 64 emulators, together with their in-game overlays
- PortMaster ports
- the On-Screen Display
Hint labels
The button hints at the bottom of every screen name the button to press. When the Xbox layout is on, Settings → System → Hint labels decides which letter they show:
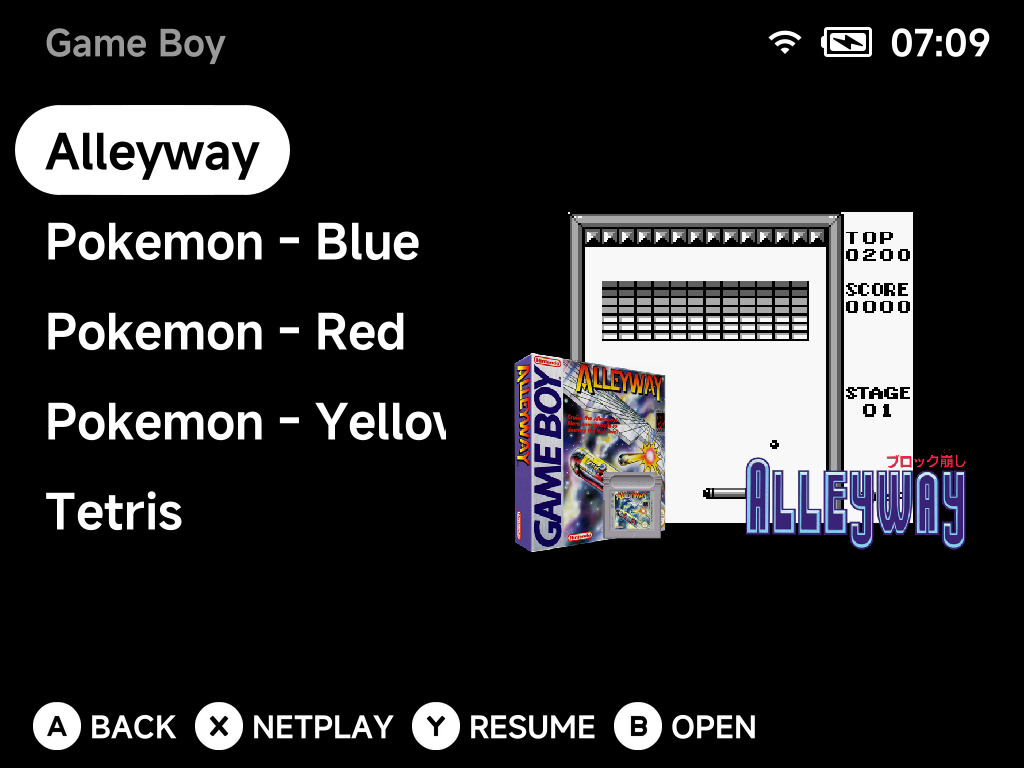
- Printed caps (default): the hint shows the letter printed on the cap
you actually press. The confirm hint reads
B, because the bottom cap is printedB.
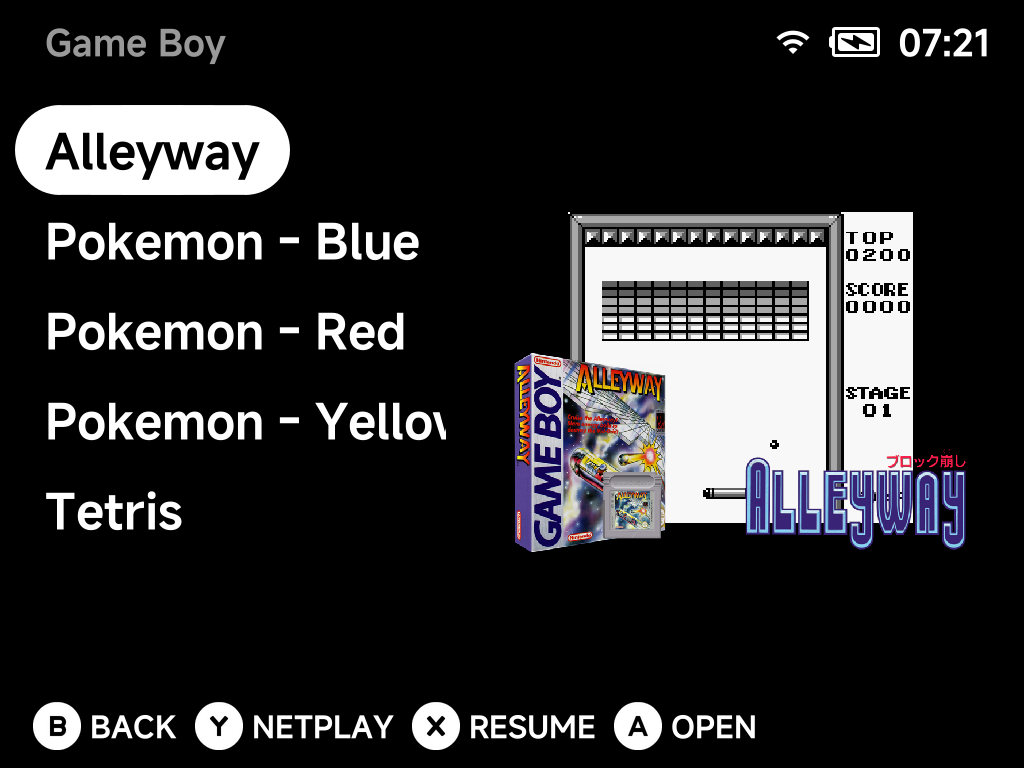
- Layout letters: the hint shows the button's role, so the confirm hint
reads
Aeven though you press the bottom cap. Pick this if you have physically swapped the caps, or think in Xbox terms.
This setting changes only what the hints say, never what the buttons do. It
takes effect immediately: the hint bar in Settings updates as you toggle it.
It has no effect while the layout is Nintendo.
Swap the caps for a seamless switch
The face-button caps on these devices are removable. If you move them
into the Xbox arrangement (A bottom, B right, X left, Y top), the
device reads like an Xbox controller: the letters you see are the
letters the games use. Do that together with Button layout = Xbox
and Hint labels = Layout letters. The default Printed caps
assumes the caps are still in the Nintendo arrangement, so with swapped
caps it would show the wrong letters.
Checking the result
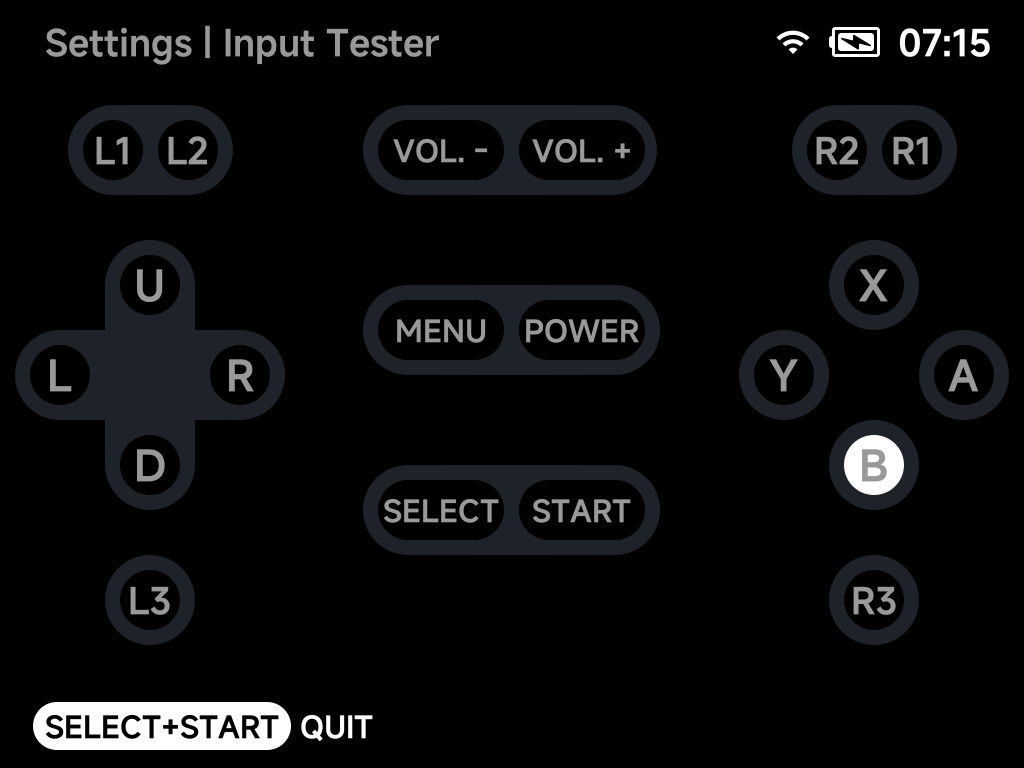
Open Settings → Input Tester. The button circles are drawn where the buttons are on the device, so under the Xbox layout the bottom circle lights up when you press the bottom button and is labelled the way your hints are.
Good to know
- Libretro button remaps you save in a game's Controls screen are stored
by role (
A,B, …), so they keep working when you change the layout. Only the letters shown on that screen follow the hint-label setting. - The Settings app keeps the layout it started with until you leave it, so the buttons never swap under your thumb mid-session.
- PortMaster no longer has a layout switch of its own; ports follow this setting.