Controls
On-screen pad and controllers
Without a controller the app shows an on-screen pad. Connect any Android controller to play with real buttons instead.
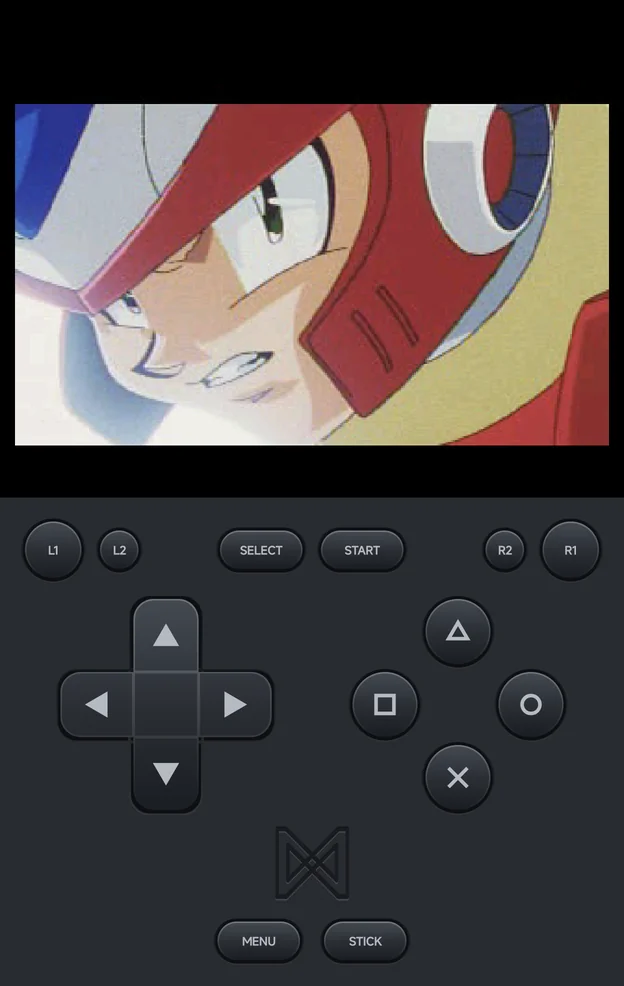
- Portrait: the pad sits in a band below the screen, in the menus and in games. On Nintendo DS, the band goes away while a controller is connected, so both screens get the full height (see Nintendo DS).
- Landscape: the buttons sit in two clusters over the game. See Landscape.
STICKswitches the on-screen d-pad to an analog stick and back. While the stick is on, the button reads D-PAD.
Landscape
In landscape the pad splits into two clusters over the game:
- The system buttons sit in the top corners:
MENUandSTICKon the left,SELECTandSTARTon the right. - The shoulders, the d-pad and the face buttons sit at the bottom.
- Both clusters keep clear of the camera cutout, on whichever side it is.
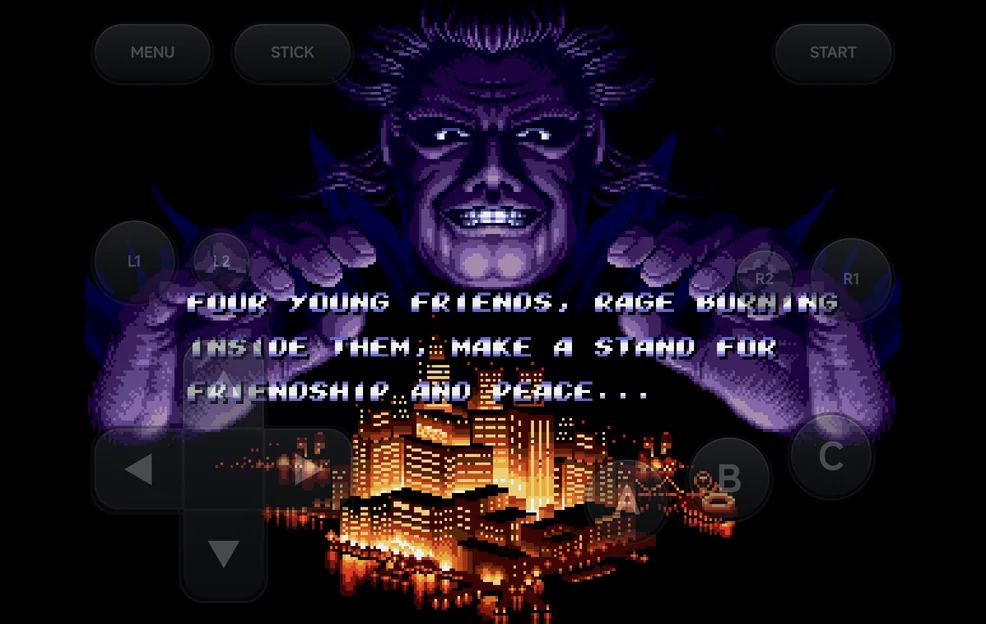
Pad Opacity (landscape) sets how opaque the clusters are: 100%, 60%, 40% or 25% (40% by default). It is in the in-game menu under Options → Frontend, not in Settings. It is saved per game or console with Save Changes.
Each console's buttons
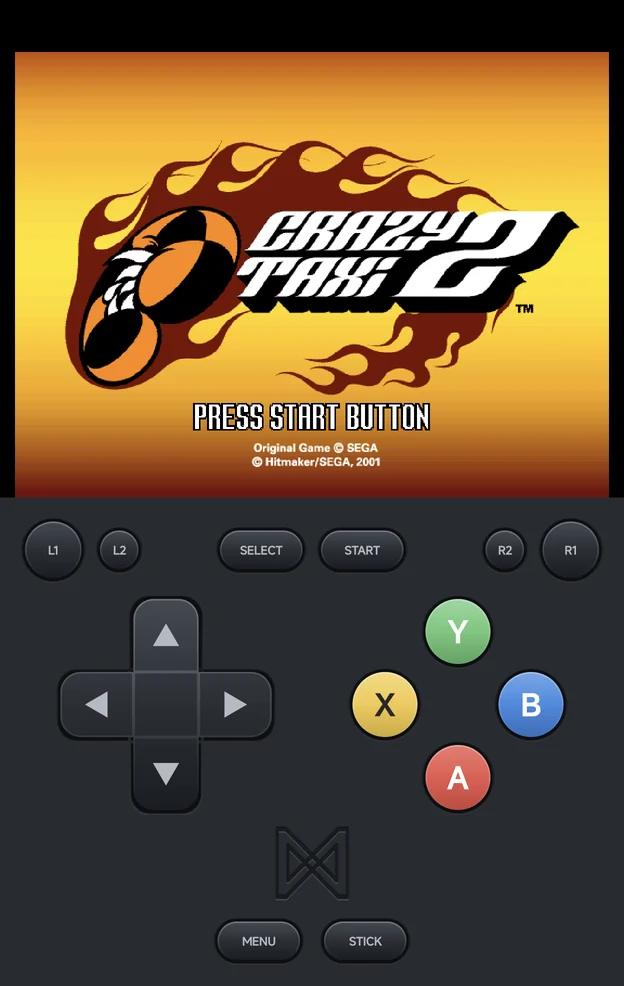
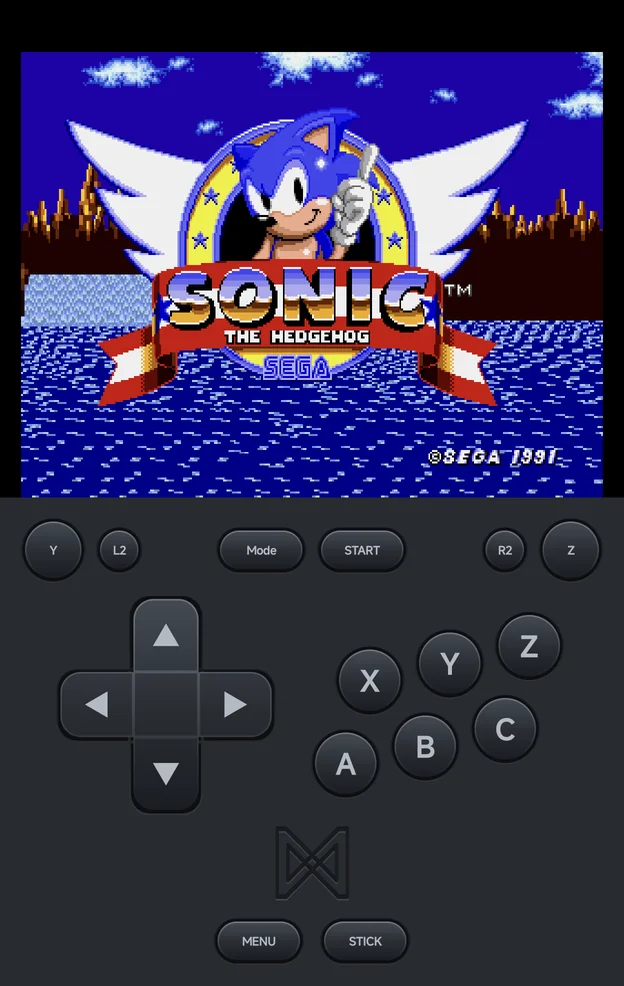
The pad draws each console's own buttons, and leaves out the ones the console doesn't have:
| Console | What the pad shows |
|---|---|
| Sega Genesis, Sega CD, 32X | The Sega pad: A B C on a 3-button pad, plus X Y Z and Mode on a 6-button pad (Y and Z are on the shoulder buttons, and Mode is in place of SELECT) |
| Master System, Game Gear, SG-1000 | 1 and 2 |
| TurboGrafx-16 | I to VI, Run and Mode |
| PlayStation, PSP | ○ × △ □ |
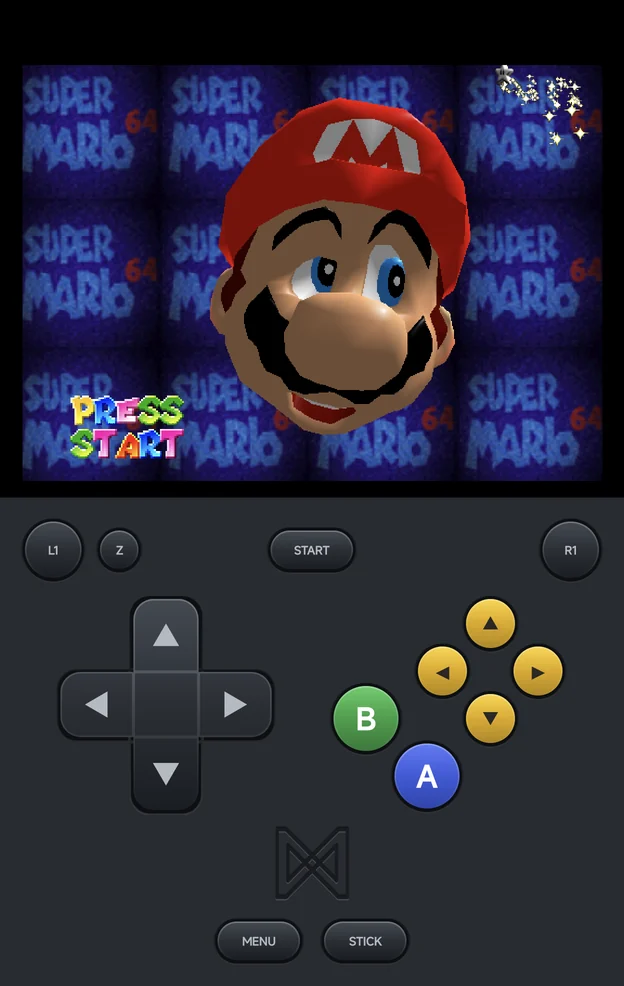
| Nintendo 64 | A, B, a yellow C-button diamond, and Z on L2 |
| Dreamcast | A B X Y in the Dreamcast's colours |
The Sega pad follows the game's Controller Type.
Pad themes
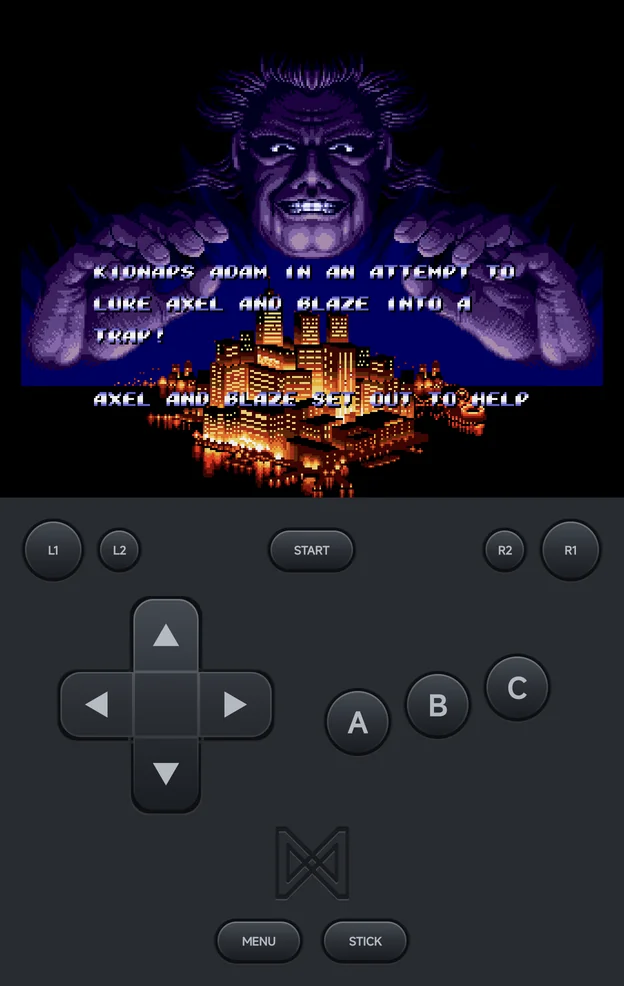
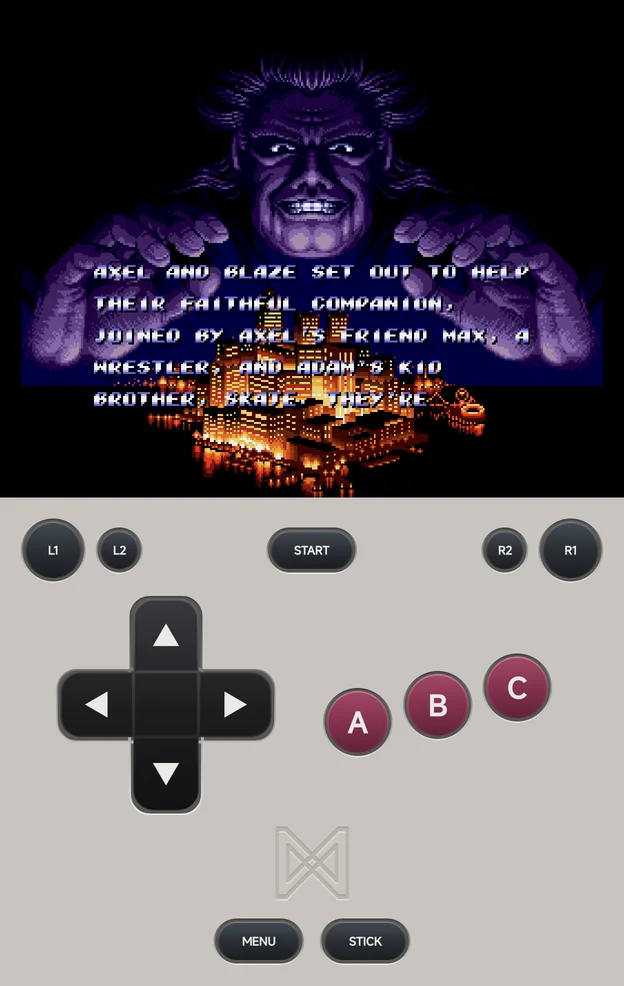
Pad theme in Tools → Settings → Appearance colours the portrait pad:
| Theme | Look |
|---|---|
| Charcoal (default) | The dark pad |
| Retro | A light grey body with magenta face buttons |
The landscape clusters always stay Charcoal.
Controller buttons
A controller's face buttons work by position, like the console's own pad:
the bottom button does the same thing on every controller, whatever letter it
shows. So the bottom button is the Super Nintendo's B, the PlayStation's ×
and the Dreamcast's A.
To do that the app reads the controller's layout:
- A Nintendo-layout pad (
Bat the bottom) is used as it is. Nintendo's own controllers and pads in Switch mode are recognised. - Any other pad is read as Xbox layout (
Aat the bottom), and itsA/BandX/Yare swapped.
If a controller is read wrongly, set Controller Layout in the in-game menu's Options → Console Settings:
| Value | Use it for |
|---|---|
| Auto-detect (default) | Let the app decide |
| Xbox (A at the bottom) | A pad with A at the bottom |
| Nintendo (B at the bottom) | A pad with B at the bottom |
Every console has it except Nintendo 64. Save it for the console or the game with Save Changes.
The other buttons:
| Controller | NX Redux |
|---|---|
L1, R1, L2, R2 |
L1, R1, L2, R2 |
START, SELECT |
START, SELECT |
Mode button (Android's BUTTON_MODE) |
MENU |
| D-pad | UP, DOWN, LEFT, RIGHT |
| Left and right sticks | The core's analog sticks (on Nintendo DS the left stick works as the d-pad, or moves the pen in stylus mode) |
On a controller without a mode button, hold SELECT and START together to
open the in-game menu.
Nintendo 64
The Nintendo 64 goes by name instead: the button printed A is the N64's A
on every controller.
| Controller | Nintendo 64 |
|---|---|
A, B |
A, B |
X |
C-Left |
Y |
C-Down |
L1, R1 |
L, R |
L2 |
Z |
| Right stick | The C buttons |
Controller Type (Sega)
Sega Genesis, Sega CD and 32X games have Controller Type in Options → Console Settings:
| Value | What the game sees |
|---|---|
| Auto (default) | A 6-button pad only for games made for one, else a 3-button pad |
| 3 buttons | A 3-button pad |
| 6 buttons | A 6-button pad |
Some older games misbehave with a 6-button pad. The on-screen pad changes to match.
In the menus
| Button | What it does |
|---|---|
A |
Open or start the highlighted item |
B |
Back. Android's Back gesture does the same. |
X |
In a game list, resume the highlighted game when it can be resumed |
SELECT |
Open the Game Switcher. The main menu's hint reads Recent. |
MENU, or a long press |
Open the context menu |
L1 / R1 |
Switch main menu tabs |
Which button confirms:
- On a controller,
Aconfirms andBgoes back, by the letters printed on it. - On the on-screen pad, the button drawn as
Aconfirms and the one drawn asBgoes back. On PlayStation and PSP,×confirms and○goes back.
Menus show key hints you can tap when a controller or the on-screen pad is present, and real buttons in landscape without one.
Game-list context menu
Press MENU, or long-press a game, for its context menu: Pin Item, Hide
Game, Rename Rom, Add to Collection, Game Settings, Fetch art and Emulator.
See Context menus for what each does and where
it shows.
In-game menu
Press MENU, hold SELECT + START, or use Android's Back gesture during a
game. The menu has save states and Options: Console Settings, Frontend,
Shaders, Core Options, Cheats, Achievements and Save Changes. See
In-game Menu.